
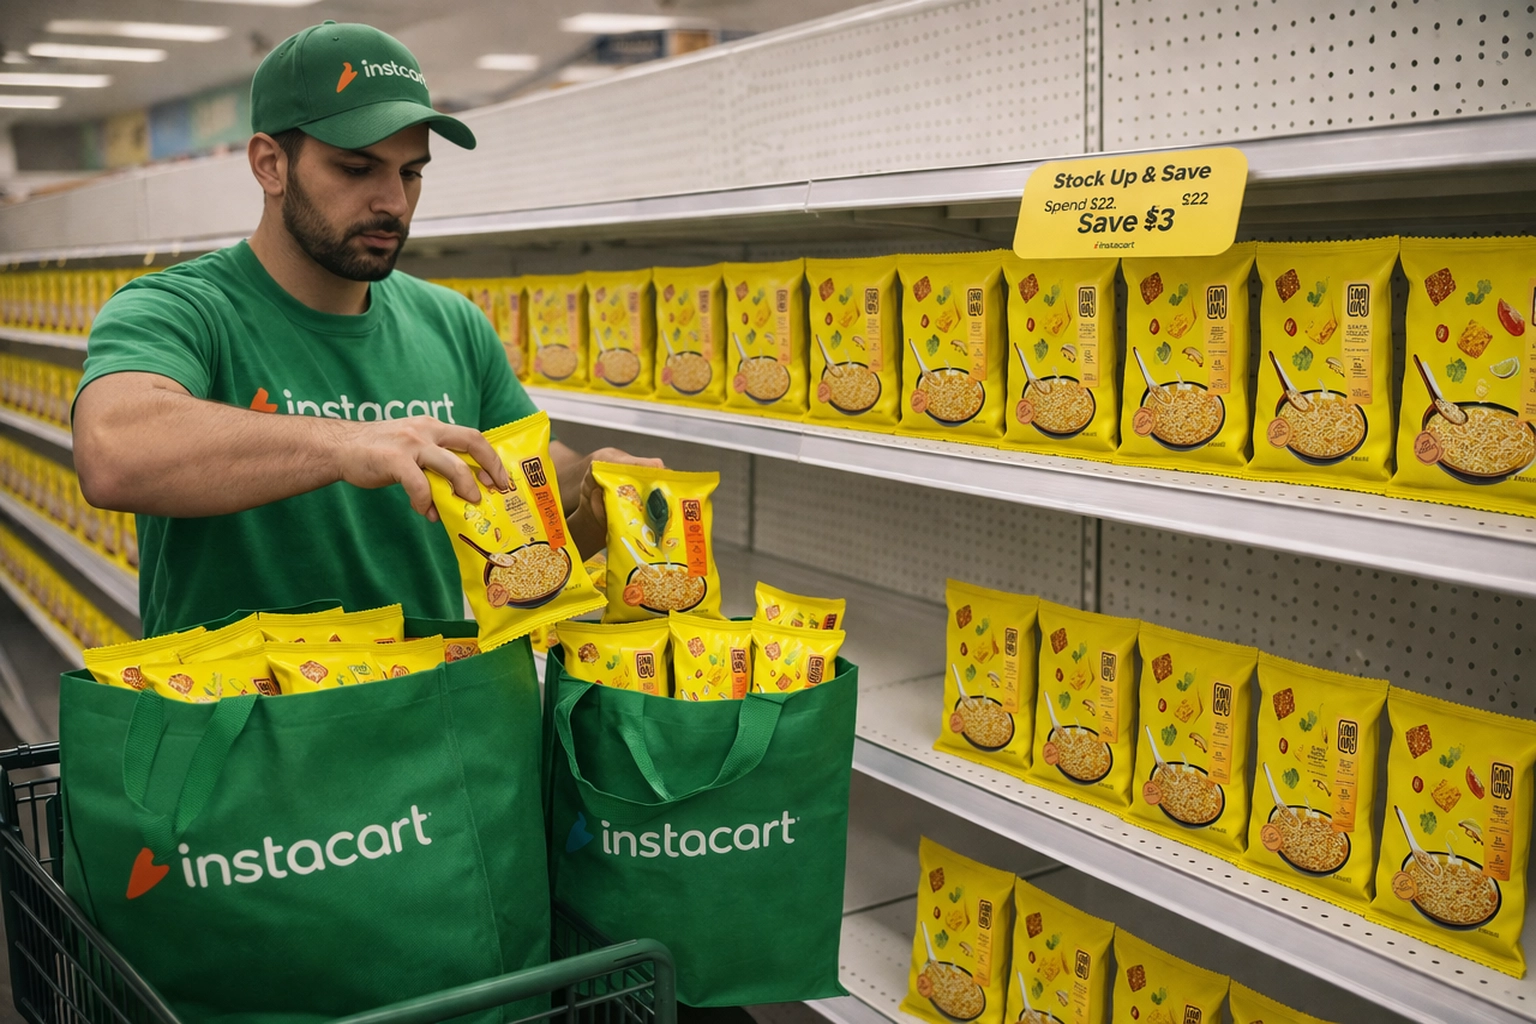
Every time we onboard a new client, I personally audit their Instacart account—and in most cases, brands are overlooking one of the highest-leverage tactics on the platform.
A tactic that:
The tactic is Stock Up & Save (SUAS).
SUAS is designed to drive larger basket by incentivizing shoppers to spend more (Spend $X, Save $Y) and is displayed with a prominent yellow badge on your listing. If a retailer promo is active, it will override the SUAS.
Here’s how we increased the average basket size by 20% for immi.


We recommend running SUAS for nearly every brand—but before launching, you should quantify the opportunity. There are two key inputs to evaluate:
Evaluate Your Baseline (Basket Size)
Start by underestanding your current performance using the Sales Decomposition report (Insights Center —> Uploaded —> “ICIP: Sales Decomposition” report).
This report shows:
This gives you a clear baseline of how much room there is to increase basket size, and how impactful it could be to overall revenue.

Analyze Brand vs Non-Brand Revenue Mix
Next, determine how much of your revenue is coming from branded vs. non-branded keywords.
This is critical because it dictates how aggressive your SUAS strategy should be:
Shoppers already intend to buy your product, so the goal is to maximize basket size
New shoppers have less intent, so you need to reduce friction to drive trial
You can do this by going into your Campaign dashboard —> Click the “Export” button —> All keywords —> Last Touch Attribution. Upload the raw export to our brand vs non-brand analyzer tool here, plug in your brand name, and analyze the data.
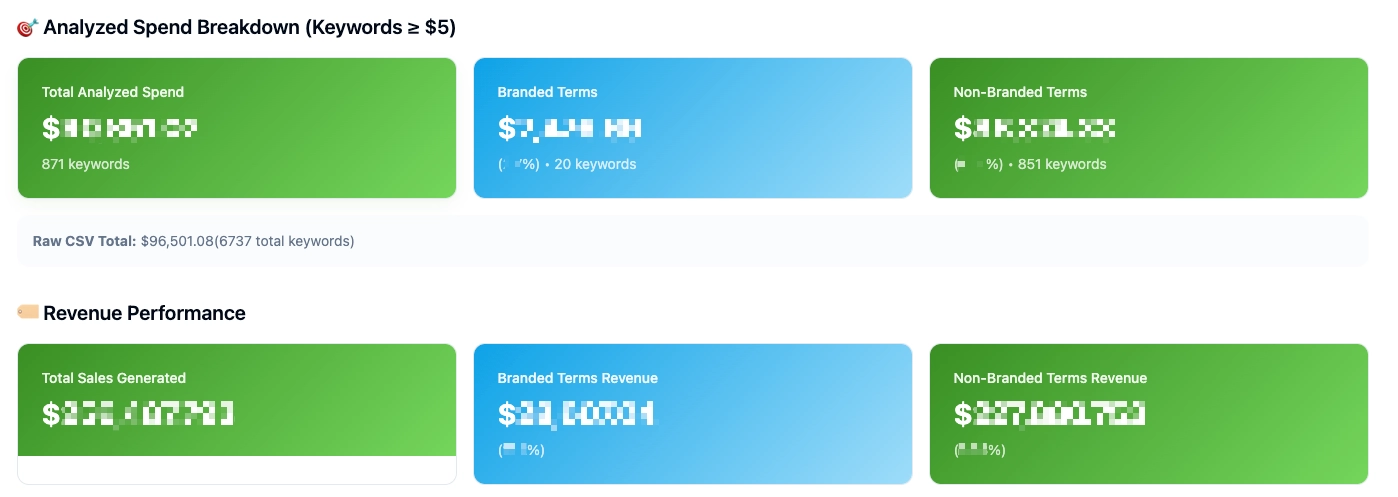
The fee per SUAS redemption ranges from $1.50 to $3.25 per redemption.
For a SUAS promo, you’re solving for two variables:
The goal is to increase basket size while staying within your target margin.
Build a simple margin model that includes the: i) redemption fee, ii) product margin %, iii) SRP (price), and iv) savings amount.
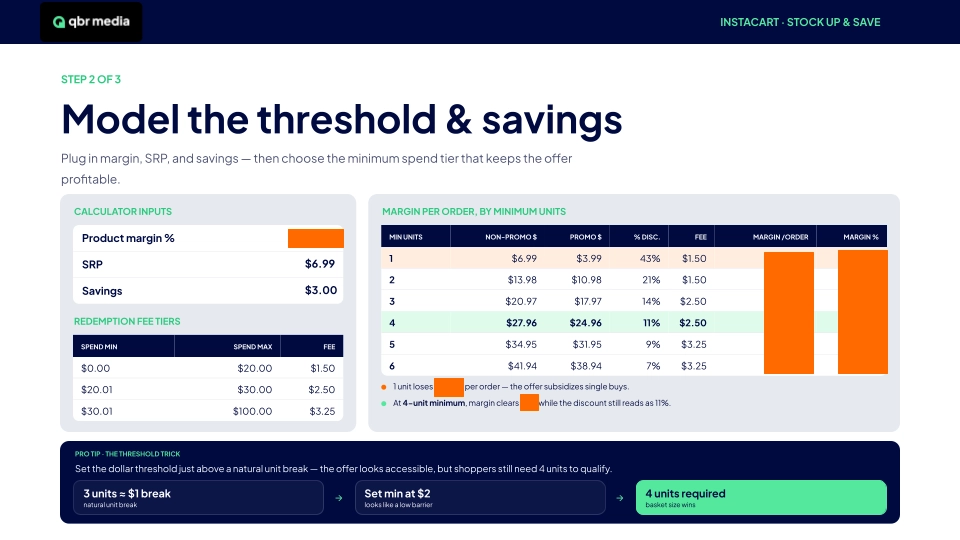
This allows you to simulate different scenarios and understand margin per order at each unit tier, break-even points, and how aggressive you can be on savings. The goal is to identify the minimum unit threshold that still meets your margin target
Our approach is usually to start conservative by offering a lower savings amount to start with and higher minimum thresholds. From there you can always optimize and get more aggressive on the offer once you see real redemption data.
Pro Tip: Since SUAS promos are triggered by a minimum dollar spend (not unit count), you can set the threshold just above the previous unit tier to drive higher basket sizes. For example, if 3 units ≈ $21 and 4 units ≈ $28, set the minimum spend at $22. While it appears like a lower barrier to entry, shoppers will still need to purchase 4 units to qualify—effectively increasing units per order while keeping the promo more psychologically accessible.
To launch a SUAS promo, go into Library —> Promotions —> Create Promotion Group —> and select Stock Up & Save.
The goal is to include as many eligible SKUs as possible—prioritizing products that meet or exceed your target margin from Step 2. There’s a strong correlation between # of SKUs in a shopper’s first order and long-term repeat purchase rates. The more products a shopper tries, the higher chance they find a favorite which increases the likelihood of converting them into a repeat, loyal customer.
Don’t just limit SUAS to your hero SKUs, instead use it to drive multi-SKU trial, increase basket diversity, and to cross-sell into other product lines.
The primary metrics you’ll have access to within the dashboard are:
Note: Sales will often be lower than total platform revenue since not all shoppers are exposed to the promo (eg: retailer promos, or budget constraints)

Based on the above metrics, here’s the type of analysis you’ll want to do:
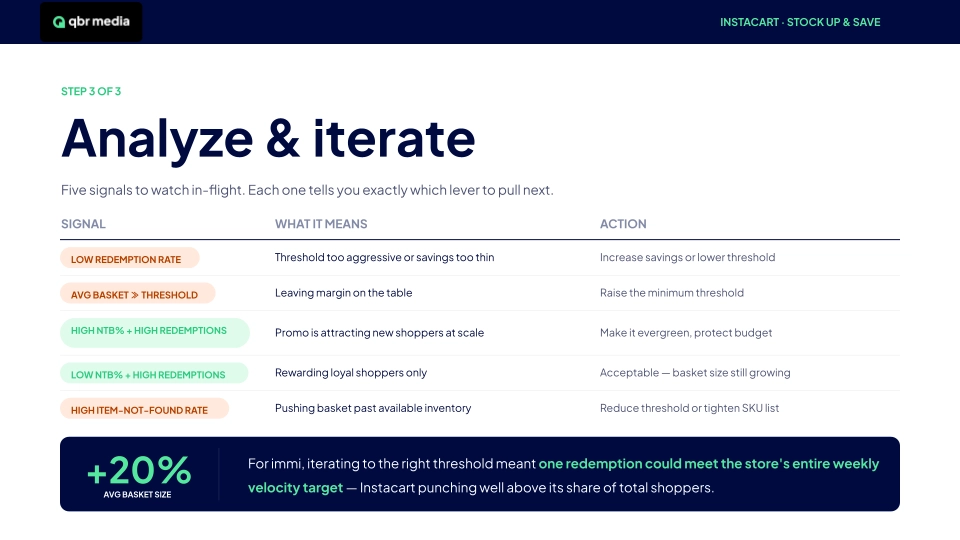
Based on the above analysis, use these signals to refine your promo:
SUAS is not a “set it and forget it” promo, it should be a highly iterative process where you start conservative and optimize based on the results until you find the sweet spot between basket size, redemption rate, and margins.
When done right, a single shopper can meaningfully contribute to store velocity, making Instacart disproportionally valuable despite the platform representing a smaller share of total shoppers.

© Copyright 2026, All Rights Reserved
